Changing the Time Horizon
The time horizon of a project defines the amount of time you want to plan ahead - and want to have data in the past.
The time dimension is generated, according to the selection of the project time horizon, hence values out of the horizon are not part of the generation and may trigger errors when uploaded.
To change it go to the project overview. Select the three dots button and select “Settings”. Now you can change the default time horizon for your project.
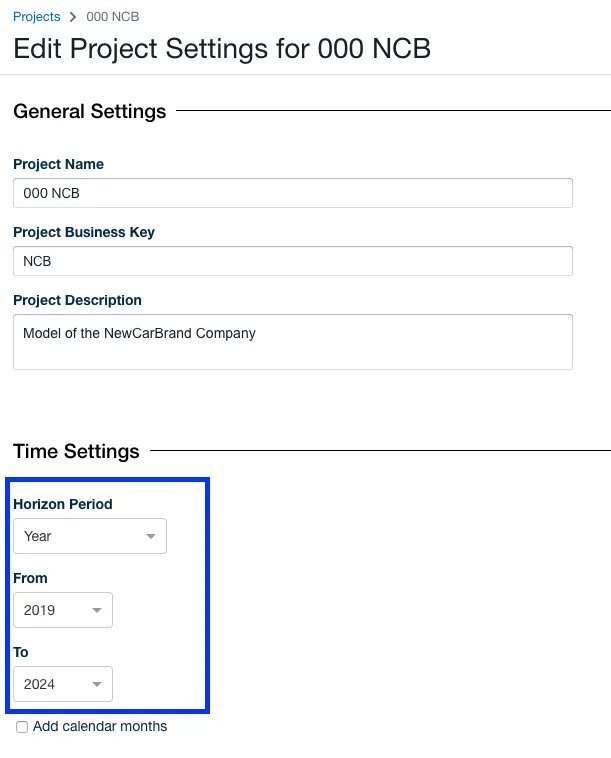
Although not advised, and seldom needed, this setting can be overwritten in your workspaces (Workspaces ).
Overriding the horizon for a single model
An individual model can also depart from the project horizon, which is what the glossary calls the model horizon. Set it in step 2 of the Edit Model dialog, reached from the model list:
- Switch on Override project simulation horizon.
- Choose the Horizon Period, then the From and To values.
The three selectors stay disabled until the toggle is on, so a greyed-out Horizon Period means the model is still following the project horizon rather than that you lack the rights to change it.
Two constraints are worth knowing:
- The step is hidden entirely on a project using the week time dimension, so a model horizon cannot be set there at all.
- Weeks are not offered as a model horizon period even where the step is shown.