Sliders
A slider tile puts the sliders for chosen line-items directly on a worksheet, so a reader can adjust values and see the effect without opening the Scenario Manager.
What it is
You choose which line-items a tile shows. That can be one slider on its own, or all the sliders relevant to a sheet gathered into a single tile.
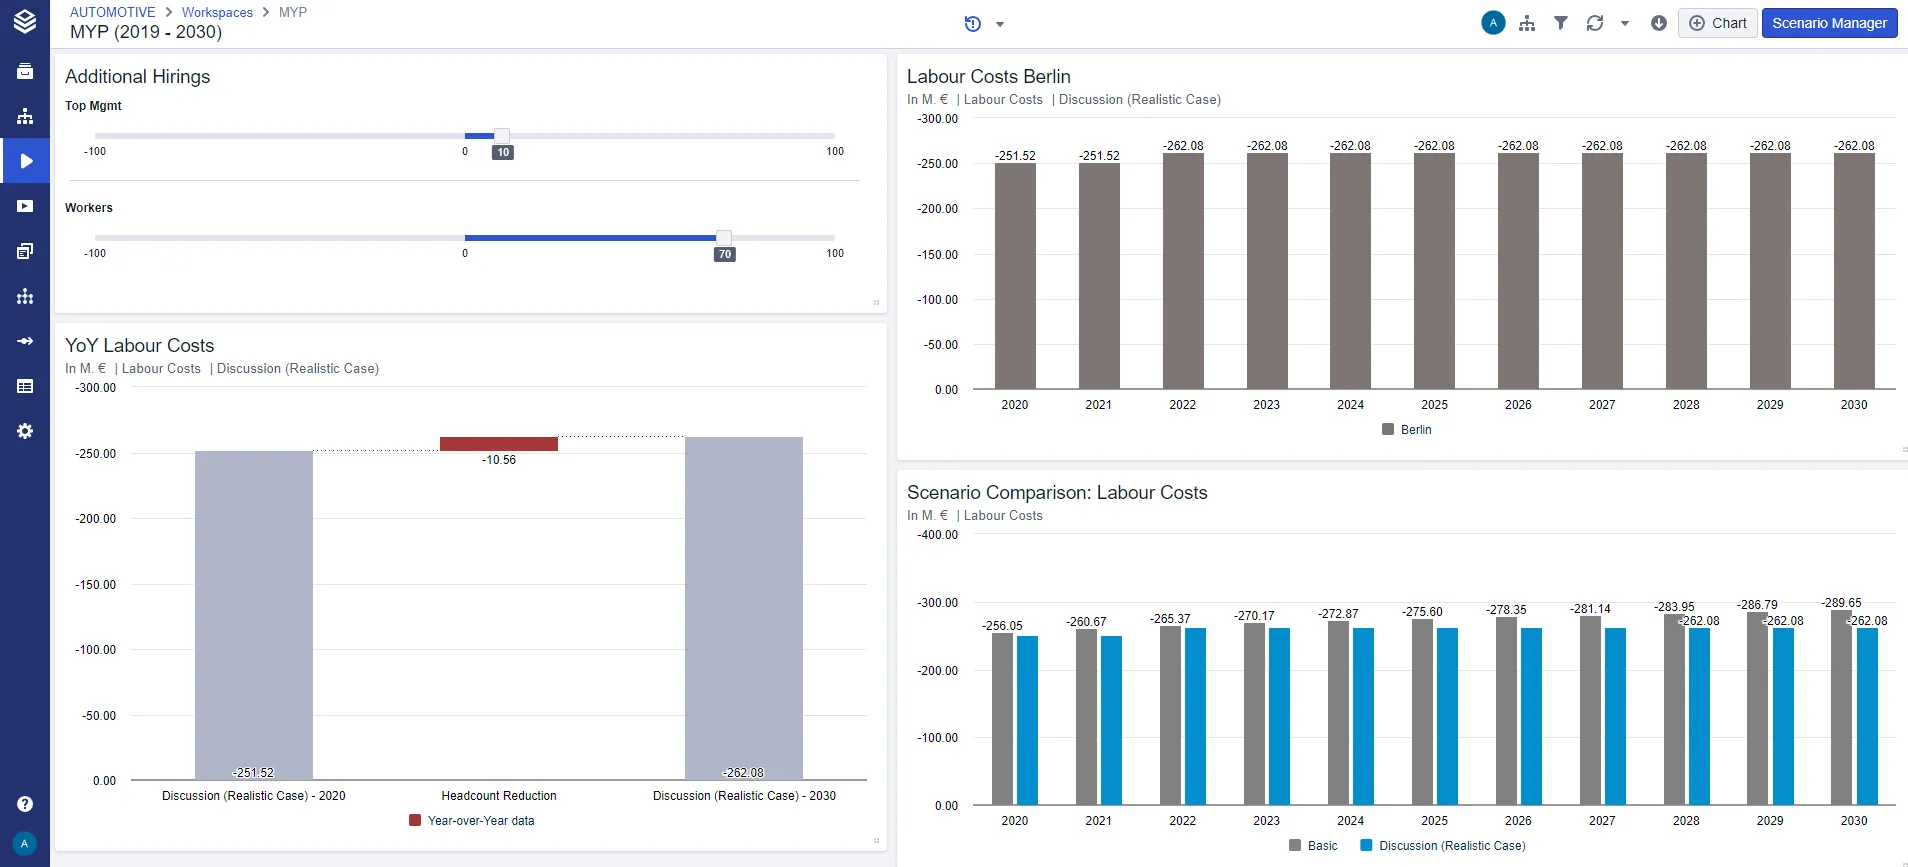
Add one by adding a chart to your workspace and selecting Slider in the chart type selection.
When to use it
- You want a focused simulation on the sheet itself, with only the handful of line-items that matter there.
- You are presenting and want to adjust an assumption without leaving the sheet.
- You want a reader who does not know the model to still be able to try a change safely.
Use a split slider instead when the total has to stay fixed and you only want to shift shares between its parts.
Configuration
Everything is reached from the tile itself:
| Control | What it does |
|---|---|
| Edit button | Change which line-items the tile shows sliders for. |
| Settings | Rename, move, duplicate or delete the tile. |
| Before/after column | Show the impact of the slider’s value next to it. |
| Reset | Reset a single slider from the button to its right, or every slider in the tile from the settings. |
Good to know
- A slider tile cannot leave its workspace. It cannot be duplicated or moved to another workspace.
- Line-items with more than one variant are not supported. A slider needs a single variant to act on.
- Step size comes from the line-item, not the tile. It is set under Sliders > Step Size in the Scenario Manager.
Related
- Split Sliders: redistribute a total across its parts while the total stays fixed.
- Input Tables: another way to simulate directly on a sheet, by typing values.
- Sliders in the Scenario Manager: configuring sliders as part of the Scenario Manager.