Part 2: Set Up Dimensions
In this part, you create the dimensions, levels and level values.
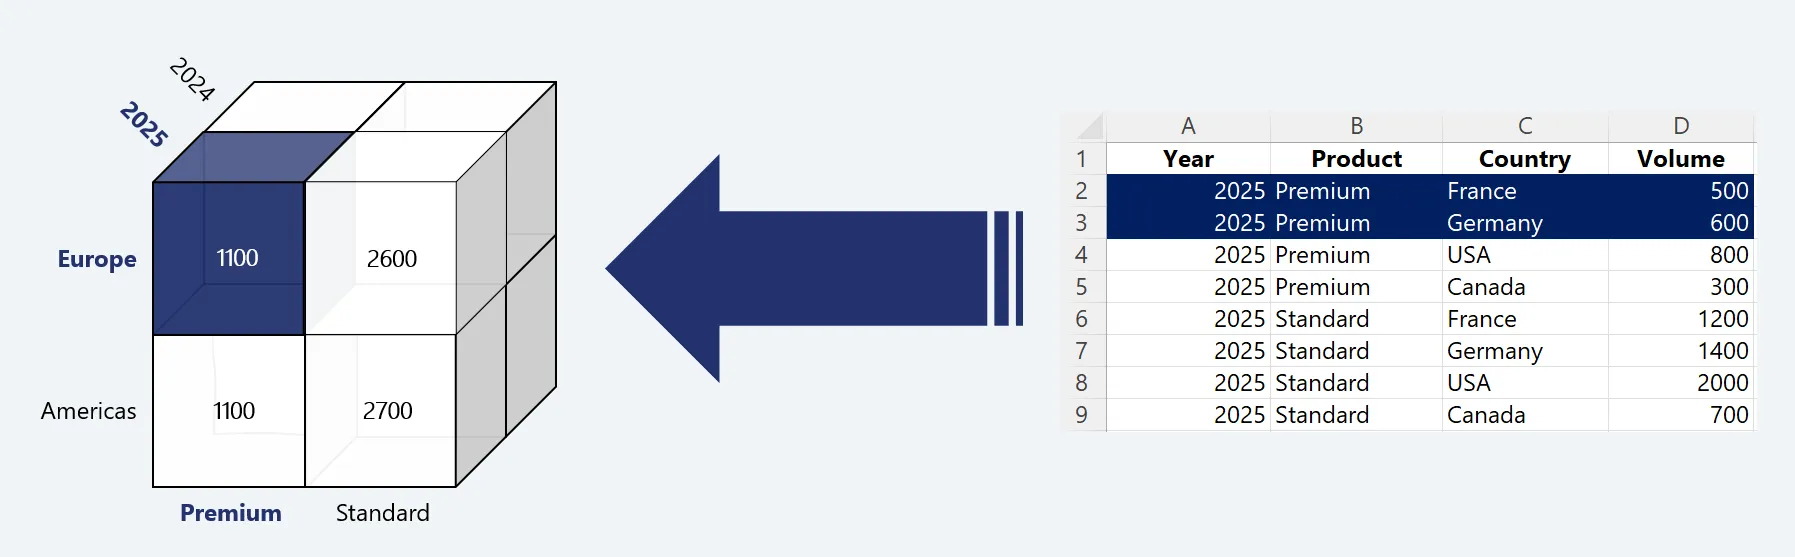
Dimensions in Valsight structure data into cluster such as product, region, or time, so values can be organized, aggregated, and analyzed across different views.
For detailed reference on any of the concepts here, see Dimensions.
Watch the video guide
In this tutorial, you will use:
- Time: predefined by Valsight
- Product: Premium, Standard
- Location: France, Germany, USA, Canada, grouped into regions: Europe, America
The Location dimension uses a hierarchy:
- Region
- Country
Steps
Create the product dimension
- Open the Dimension Manager from the left menu bar.
- Click Add to create a new dimension.
- Enter the dimension details:
Field Value Notes Dimension name Product The name can be chosen freely. Level name Product This must match the column name in the Excel file exactly, case-sensitive. -
Click Confirm to create the dimension.
-
Add the level values:
- Premium
- Standard
Tip Level values can also be added later during data upload if they are missing.Create the location dimension
- In the Dimension Manager, click Add.
- Enter the dimension details:
Field Value Notes Dimension name Location Level name Region Start with the highest level. Level name Country Hit Shift + Enter to add another level. - Click Confirm.
- Add the level values.
Region Country Europe France Europe Germany America USA America Canada
Result
- Created the Product dimension
- Created the Location dimension with a Region > Country hierarchy
- Added the level values needed for the tutorial data