Workspace Validation
Check that your workspace scenarios and model logic function correctly together.
When to use it
- After creating or modifying scenarios, to verify that results remain consistent
- When investigating unexpected values in workspace charts or reports
- As a routine check before sharing or presenting workspace results
How it works
Workspace validation checks four things:
- Validation nodes: It evaluates the conditions defined in your model’s Validation Nodes across all active scenarios, catching logical errors that only surface when scenarios interact with model logic.
- Line-item dimensions: It checks whether line-items added in scenarios have dimensional problems, such as referencing dimensions or level values that do not match the target node’s shape or do not exist anymore.
- Line-items in shared scenarios: The same dimension checks run again over every scenario you have imported, and over any scenario nested inside those. A problem in somebody else’s shared scenario therefore surfaces in your workspace, reported against a line-item you did not create.
- Nodes limited to one assumption: It flags scenarios that stack more than one assumption on a node whose Single assumption per scenario setting is on, see below.
Nodes limited to one assumption
Single assumption per scenario is a per-node toggle in the Validation Settings section of the Node Editor, next to Validation Node. It is off by default.
Switch it on for a node where stacking two assumptions would double-count, and workspace validation then reports every scenario in which more than one assumption acts on that node. It catches three shapes: two line-items on the node, a line-item together with a scenario assumption, and two scenario assumptions. The message names both culprits, for example “Node ‘Price’ is limited to a single assumption, but has multiple active: line-item ‘Discount’, line-item ‘List price uplift’”.
The setting reports, it does not block. Nothing stops a user activating a second assumption on the node, so the conflict surfaces in workspace validation rather than at the moment it is created.
This provides a deeper check than model validation, which only verifies syntax and structure.
Running a workspace validation
- Open a Workspace or the Scenario Manager.
- Click the validation icon.
Workspace validation can also be set to run automatically, removing the need for manual checks.
Validation states
The validation icon has three possible states:
| Symbol | Status | Meaning |
|---|---|---|
 | Valid | The workspace, its charts, and all scenarios are working correctly. |
 | Invalid | The workspace or its components have issues. Click the icon to see details. |
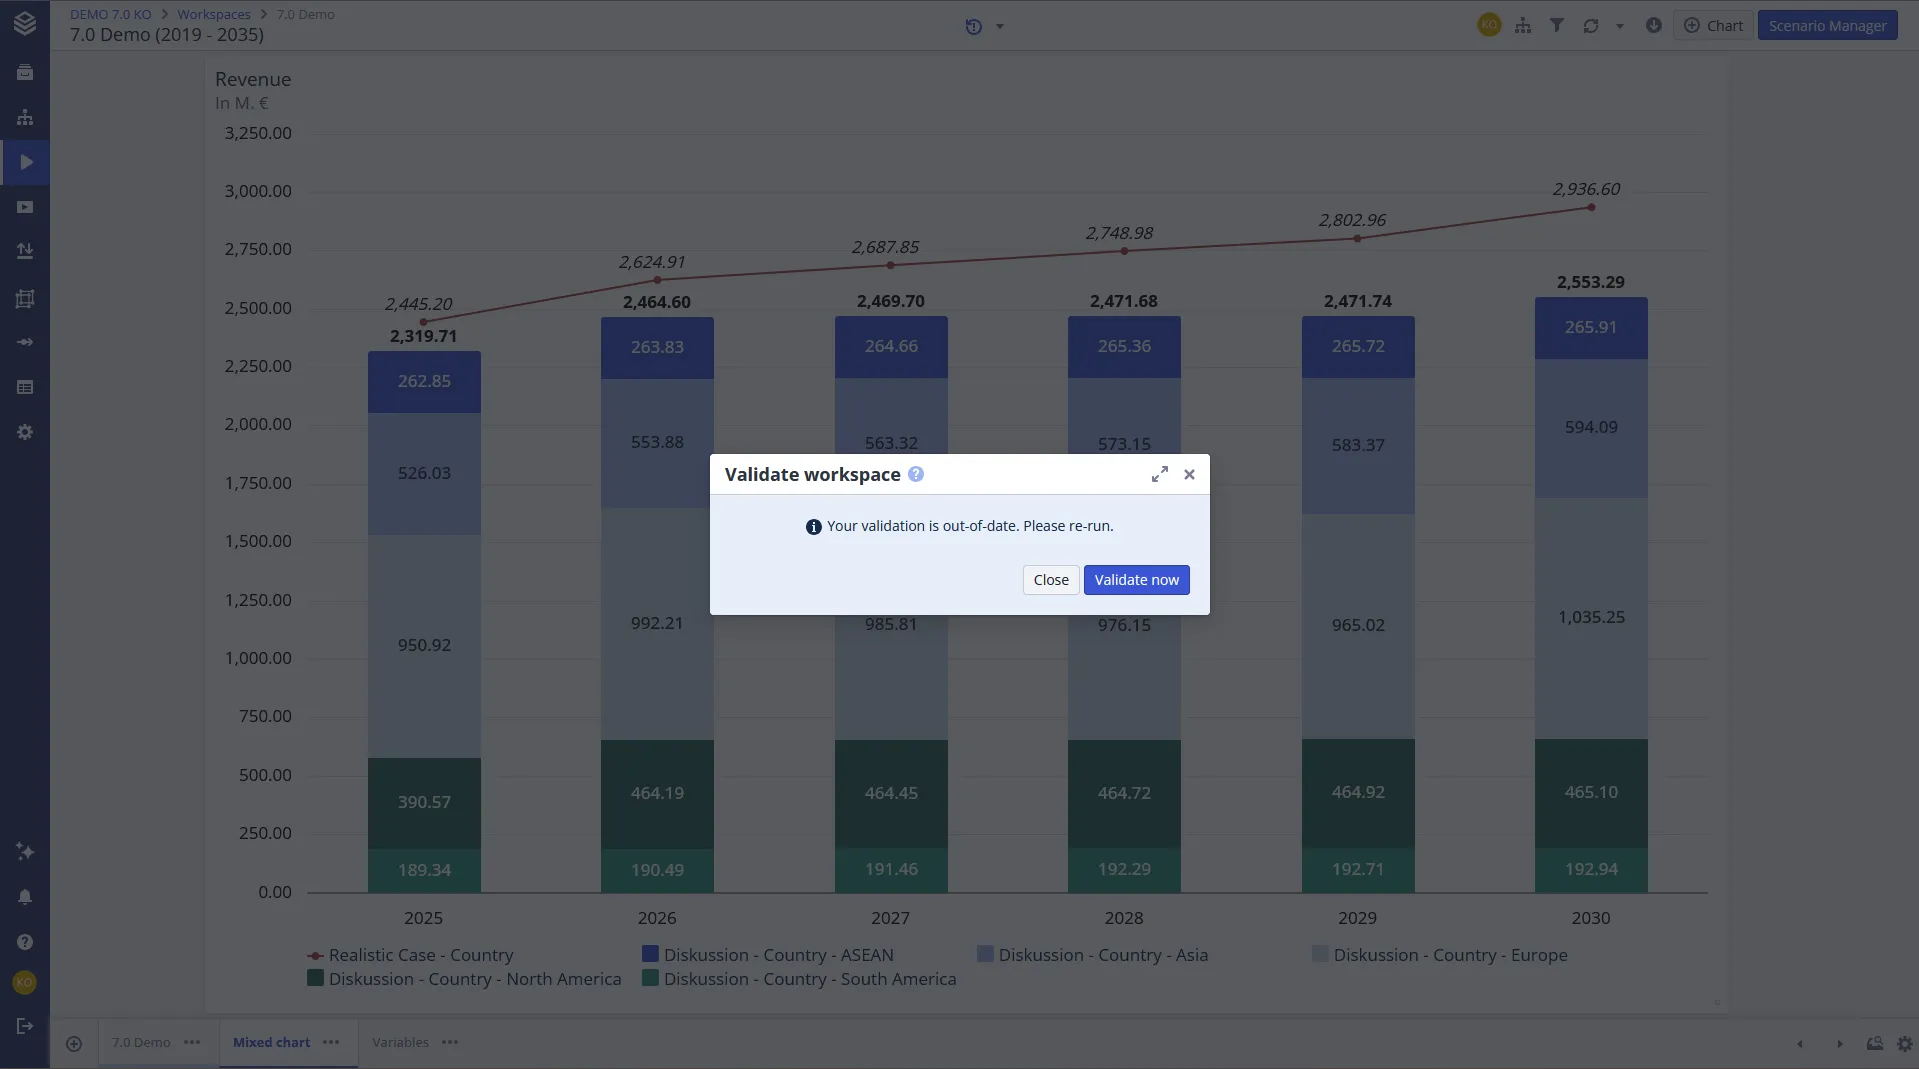
 | Out of date | Changes have been made since the last validation. Only shown when validation is set to manual. |
FAQ
How does workspace validation differ from model validation?
Model validation checks formula syntax and data compatibility. Workspace validation checks whether validation node conditions are met across active scenarios and if the dimensions between line items and nodes align.
Do I need validation nodes for workspace validation to work?
Not strictly. Workspace validation also checks line-item dimensions independently. However, validation nodes are needed if you want custom result-level checks across scenarios.
Can I automate workspace validation?
Yes. Validation can be configured to run automatically when changes are made.
Related
- Model Validation: check model syntax and data compatibility
- Validation Nodes: define the custom conditions that workspace validation checks