Creating a Project
Create a new Valsight project, configuring its name, business key, description, and time horizon.
Steps
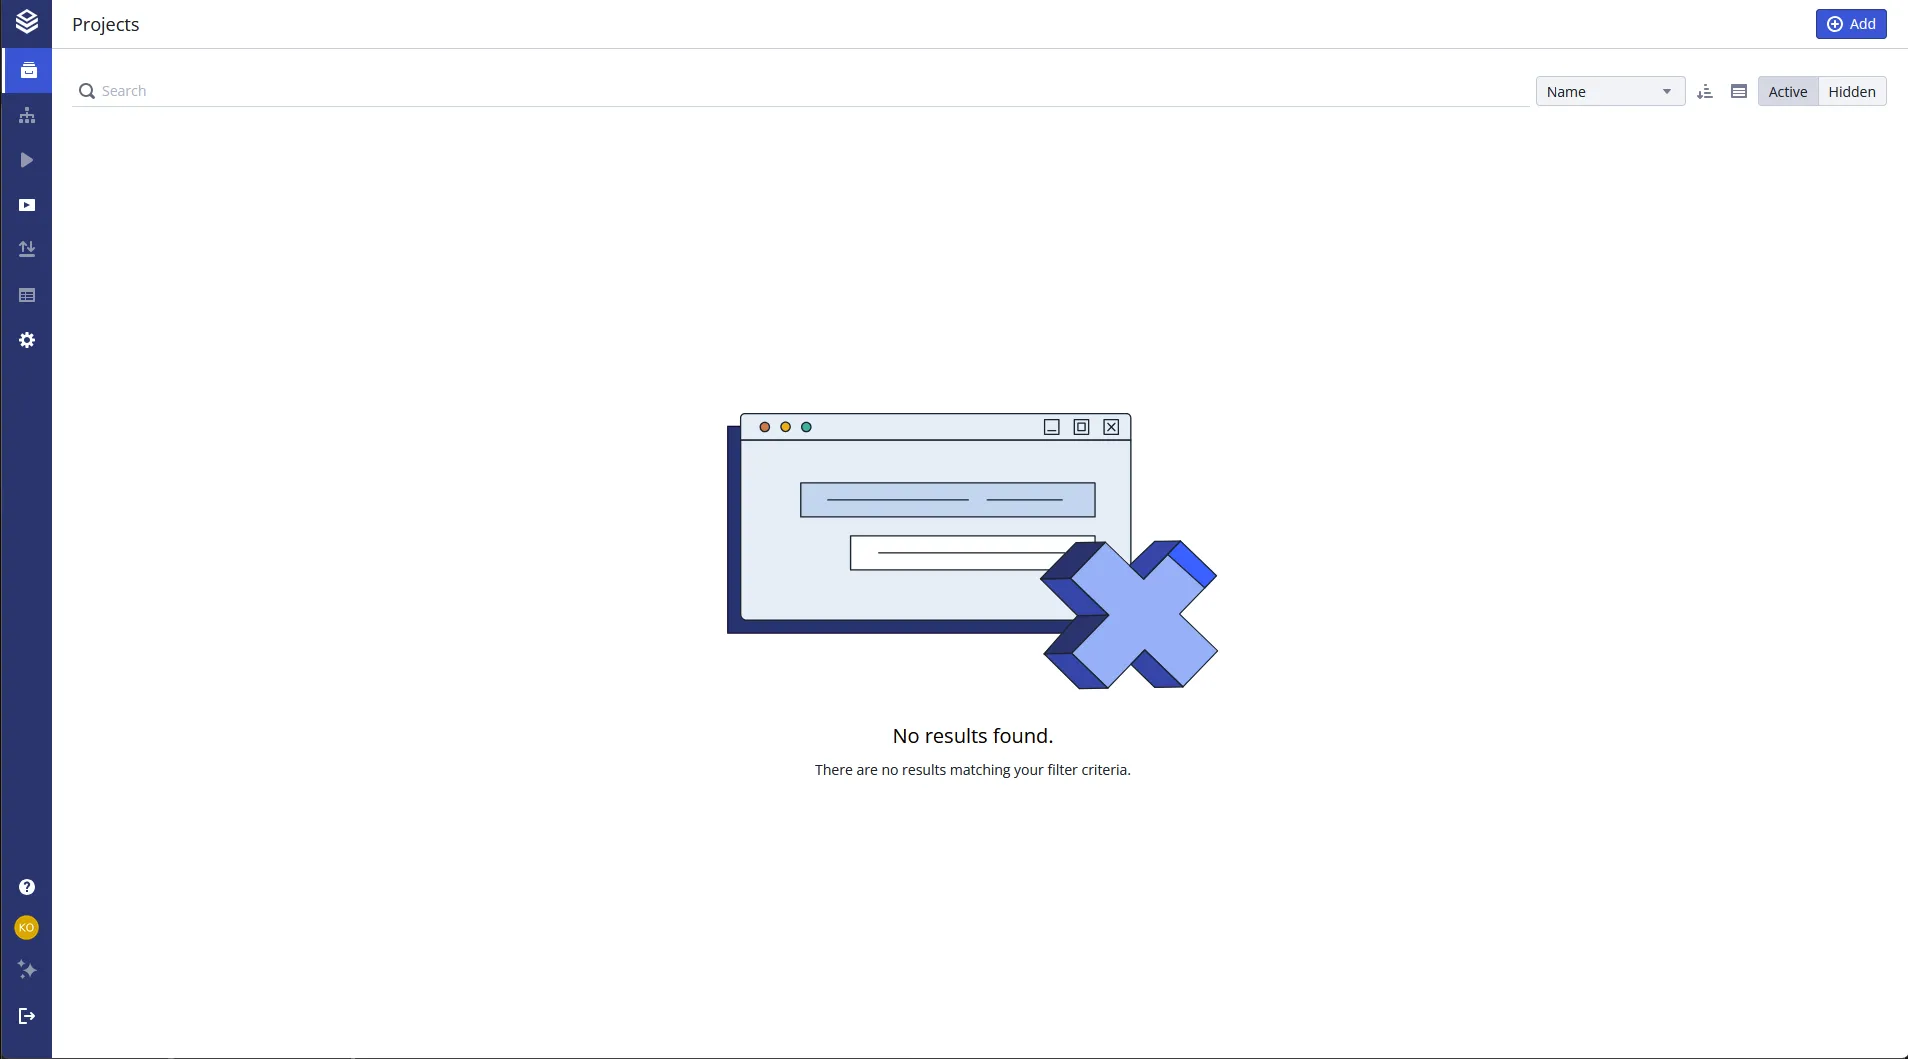
Open the project overview
Open the Project overview (home page).
Enter project details
- Click Add in the upper right corner.
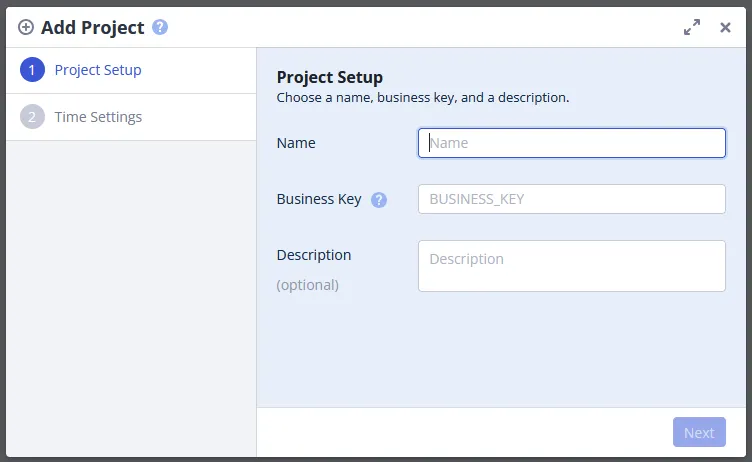
- Enter a name for your project in the Name field.
- Enter a unique identifier in the Business Key field.
- Optionally, add a description in the Description field.
- Click Next.
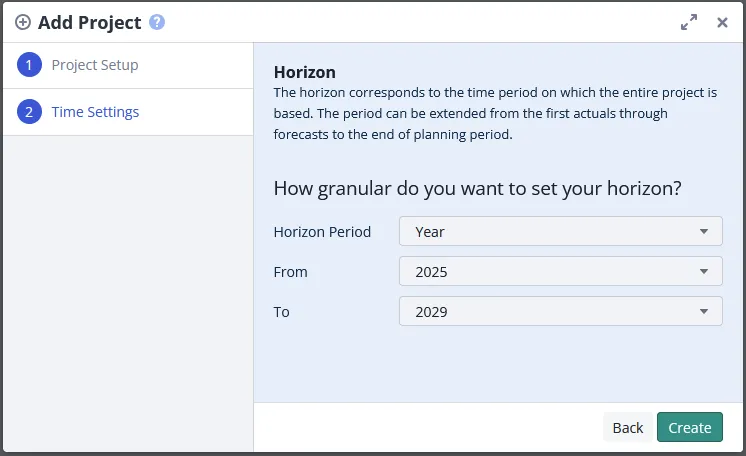
Set the time horizon
- Select the Horizon Period (Year, Quarter, or Month).
- Enter the start date in the From field.
- Enter the end date in the To field.
- Click Create.
Result
The new project appears in the Project overview. You can now add data sources, models, and simulation workspaces to it.
Related
- Business Key: the purpose and naming conventions for business keys
- Project Settings: detailed configuration options after project creation
- Data Upload & Import/Export Overview: import data into your project