Creating Sticky Notes & Frames
The Annotations feature enhances collaboration in the Valsight Model Editor by allowing users to visually comment on, organize, and highlight areas of a model. It provides a clear and flexible way to communicate logic, context, or suggestions directly within the modeling environment.
Whether clarifying a calculation, marking key nodes, or guiding team members through a complex model structure, annotations help streamline collaboration and support model transparency.
Key benefits
With Sticky Notes & Frames, users can:
- Add contextual notes directly on the canvas using customizable sticky notes
- Use colored frames to group related areas of a model
- Easily toggle visibility of all annotations to reduce visual clutter
- Reposition, edit, and delete annotations freely as the model evolves
- Reuse annotations across models and projects via copy and paste
Example use case
In a car manufacturing scenario, the finance team might use a frame to highlight all nodes related to “EV production cost drivers” and add sticky notes to explain assumptions for battery pricing. This helps ensure consistency across departments reviewing the same model structure.
Setup and usage
Recommended preparation
To use annotations meaningfully and effectively:
- Use clear, concise naming for frames and comments to enhance readability
- Place annotations near relevant nodes to provide immediate visual context
- Avoid excessive overlapping of annotations to maintain a clean canvas
- For multi-user environments, establish internal guidelines for color usage or note structure
- Consider using visibility toggles during presentations or walkthroughs to focus the view
Creating sticky notes & frames
To create a sticky note or frame:
-
Open the Model Editor
-
Click “Annotation” in the Create section of the footer action bar, next to the “Node” button
-
Choose one of the following options:
- Sticky Note
- Frame
- Divider
Sticky note setup
Choosing Sticky Note does not open a dialog. It arms placement mode, and the cursor becomes a crosshair.
- Click once on the canvas to place the note. It is created immediately, at a fixed default size, in the first color of the model’s palette, carrying the placeholder text “Double-click to edit”
- Press Escape or right-click to cancel placement without creating anything
- Set the text and color afterwards in the Annotation Editor, or double-click the note to edit its text in place
- Notes display a scrollbar if the text exceeds the field height
- Selected notes show a dotted border and can be moved freely
Frame setup
Choosing Frame arms placement mode in the same way. There is no dialog and no rectangle to draw.
- Click once on the canvas to place the frame. It is created immediately, at a fixed default size, in the first color of the model’s palette, named “New Frame”, with the name field focused so you can rename it straight away
- Press Escape or right-click to cancel placement
- Resize and reposition the frame afterwards by dragging it
- Set the title, color, and optional background color in the Annotation Editor
Divider setup
Dividers behave differently from the other two types: choosing Divider opens a dialog instead of arming placement.
- Choose Divider. The Add Divider dialog opens.
- Enter a name. The field cannot be left empty; an empty name is rejected with “Divider name must not be empty”.
- Click Create Divider. The divider appears as a vertical line with its name on a label at the bottom.
To move a divider, drag its line or its label sideways.
To rename or remove one, hover its label and click the cog icon to open the Section Settings dialog. There you can change the Name and click Update, or click Remove this Section to delete the divider. The cog icon only appears if you have edit rights on the model.
Interacting with annotations
-
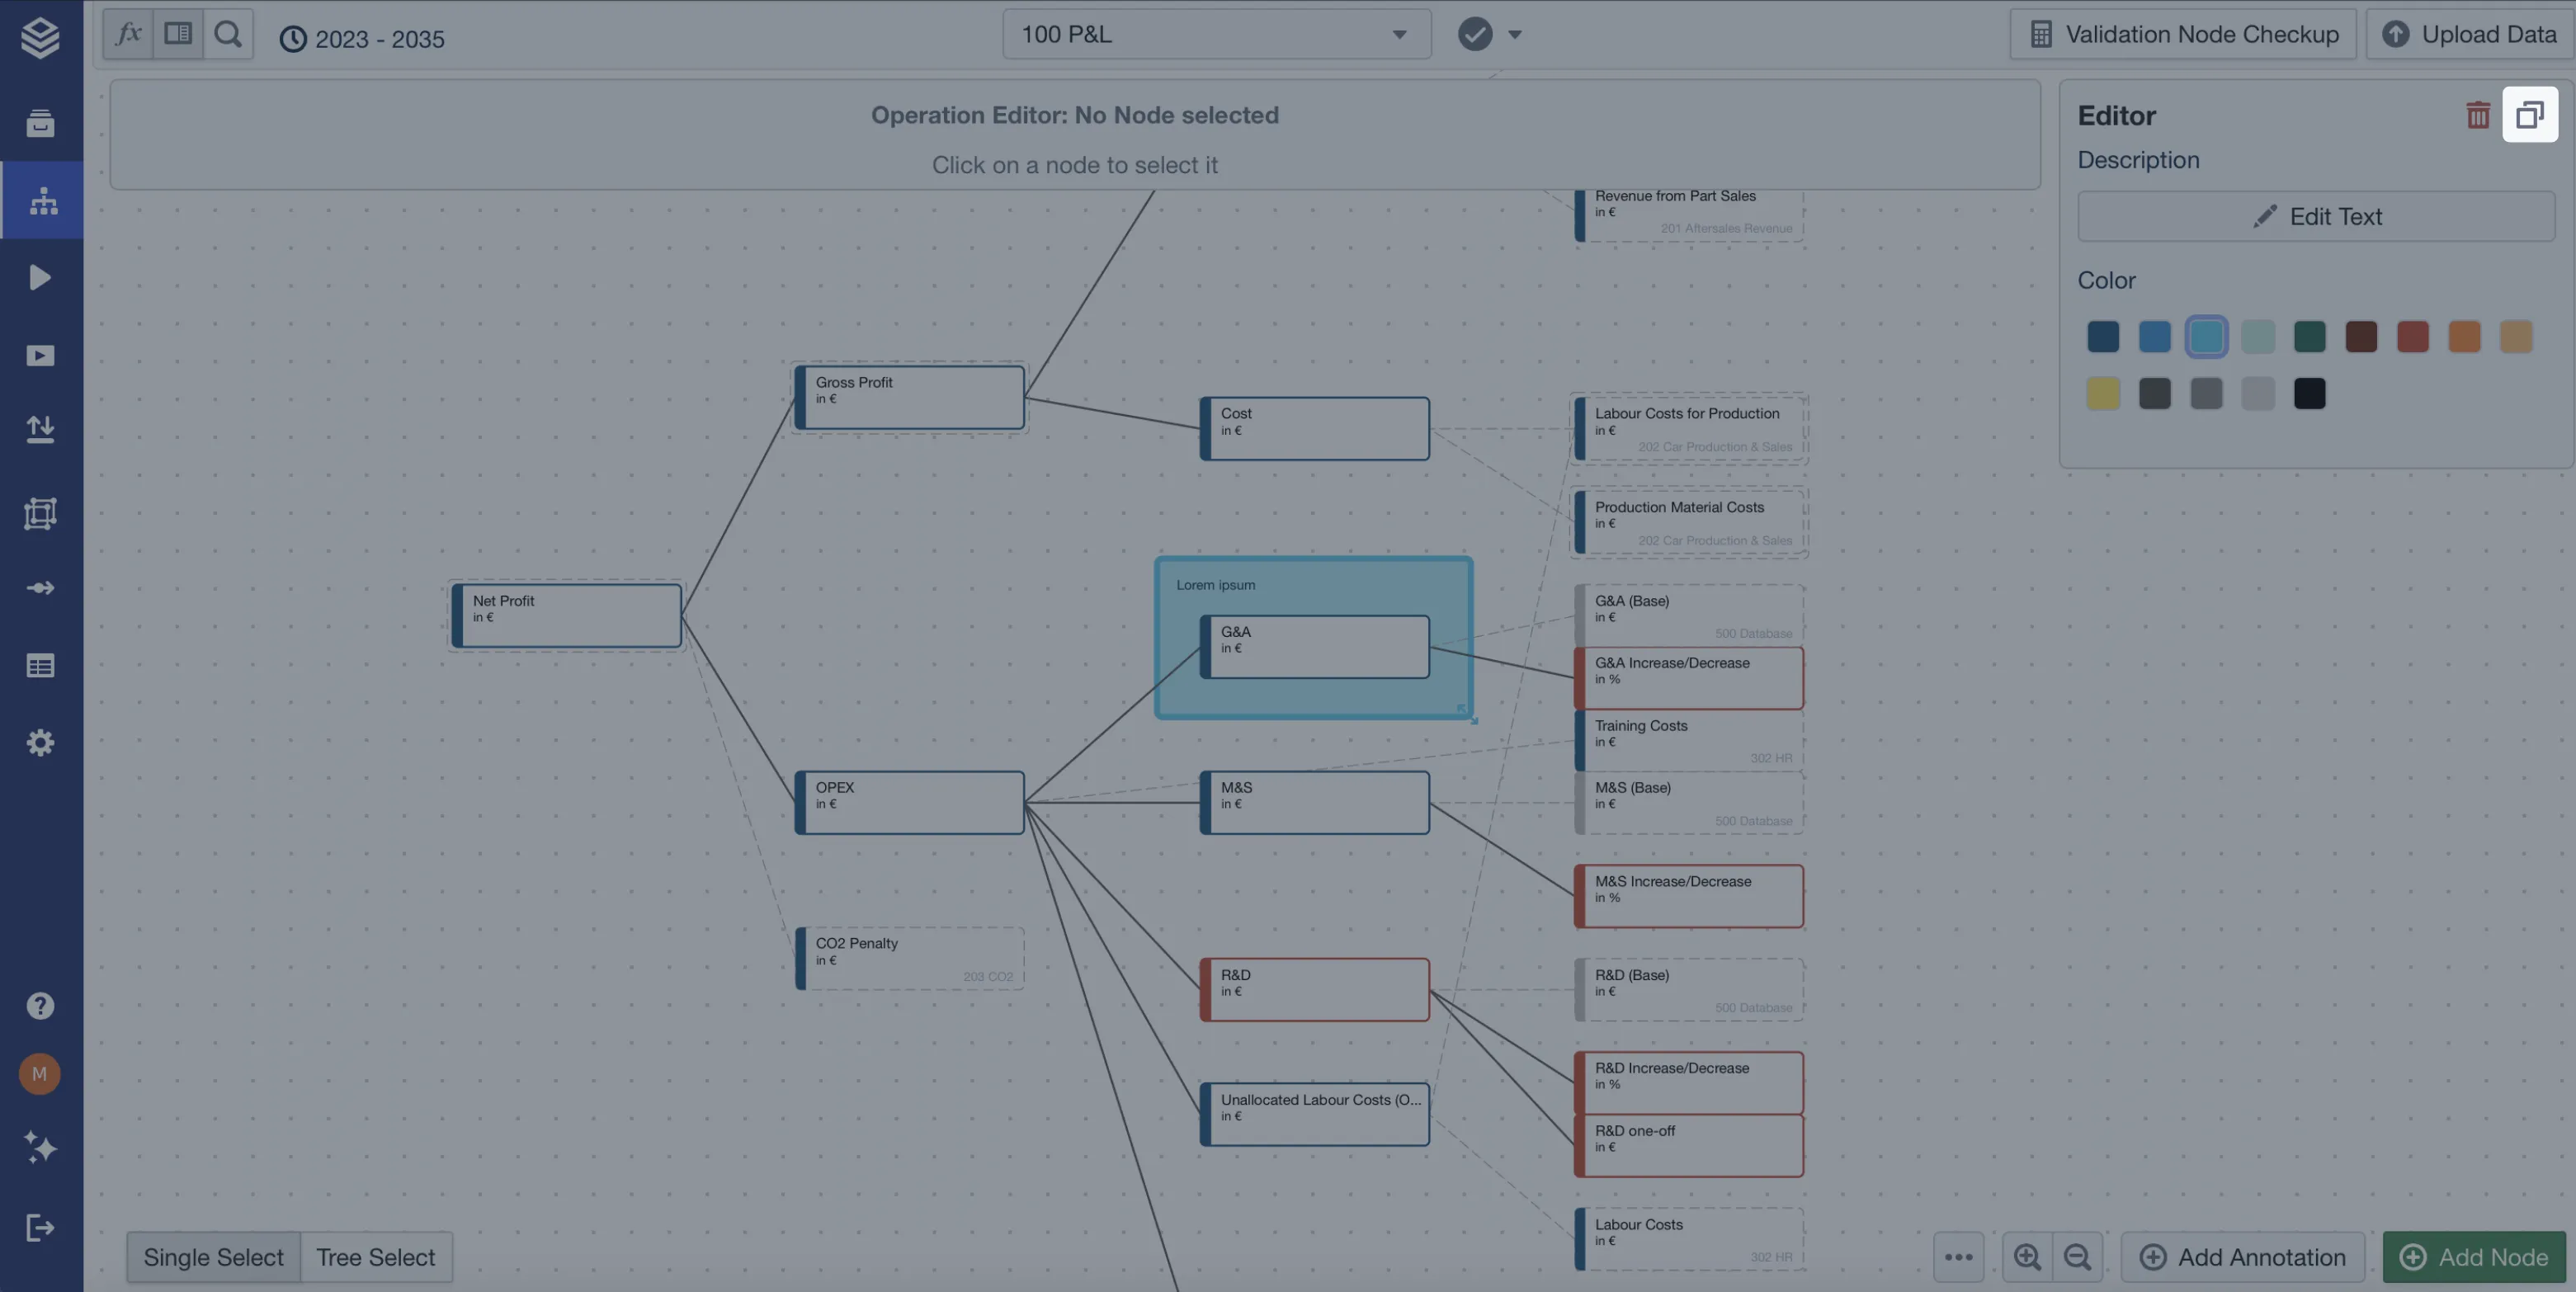
Click any annotation to select it and open its settings in the Editor Panel (top right)
-
For sticky notes:
- Click “Edit Text” to modify content
-
For frames:
- Edit title, color, or background
-
To remove an annotation, click the trash icon in the object or editor panel
-
To manage visibility:
- Open the Inspector, select the Model tab, and use the Show Annotations toggle under Canvas Display to show or hide all annotations at once
- This toggle is user-specific and does not affect other users
Managing, configuration and limitations
Supported configuration
-
Annotations include:
- Sticky Notes with text formatting and color
- Frames with title, border, and optional background color
- Dividers with a name, splitting the canvas into sections
-
Annotations can be moved, copied, edited, deleted, or hidden
-
Annotations are compatible with keyboard and mouse input, supporting drag-and-drop positioning
-
Copy & paste functionality is supported:
- Within the same model
- Across different models
- Across projects
Error handling and system limitations
- Overlapping or excessive annotations may lead to visual clutter but do not affect model performance
- If an annotation cannot be pasted (e.g., incompatible data), a clear error message is shown
- Long sticky notes will automatically scroll rather than resize
- Annotations are purely visual aids and do not affect the model’s logic or calculations
Data synchronization and integration
- All annotations are stored per model and saved with the model state
- Visibility settings are stored per user, ensuring a personalized experience
- No special rights are required: any user with model edit access can use and manage annotations
- Annotations are preserved during project duplication, import, or export
Summary
Sticky Notes & Frames support clearer communication, better documentation, and more efficient teamwork within the Model Editor. With rich formatting, intuitive placement, and full copy/paste support, they allow users to:
- Provide helpful comments directly in the canvas
- Visually organize and explain model logic
- Reuse and manage annotations across models
- Reduce complexity by toggling visibility on demand
This feature helps make even the most complex models more accessible, navigable, and team-friendly - essential for transparent and collaborative modelling.